
A practical guide
How to send a screenshot from a Mac, in a text or to your iPhone.
You don’t have to save a file first. Here are the quickest free ways to send a screenshot from your Mac in Messages, to someone who doesn’t have an iPhone, and to your own iPhone, plus how to send several so they’re easy to read on a phone.
1. In a text, with Messages
Free and built in. The quickest way for one screenshot.
- Press ⌃⇧⌘4 and drag across what you want. Holding Control copies the screenshot instead of saving it.
- Open the conversation in Messages, click in the message field, and press ⌘V.
- Add a line about what to look at, like “The price changed here,” and press Return.
Two other ways: drag the screenshot’s thumbnail, or the file, into the message field. Or click the thumbnail, mark it up if you like, then click Share and choose Messages.
Texting a lot of screenshots? Press ⌘⇧5, click Options, and choose Messages under Save to. Each new screenshot then opens in a new message. Switch it back to Desktop when you’re done, or every screenshot will keep opening Messages.
2. To someone without an iPhone
Free and built in. Needs your iPhone.
Messages on your Mac can text any phone, as SMS, MMS, or RCS, by passing the message through your iPhone. To set it up:
- On your iPhone, open Settings → Apps → Messages → Text Message Forwarding. On older versions of iOS, it’s under Settings → Messages.
- Turn on your Mac in the list.
Your iPhone and Mac need to be signed in to the same Apple Account, and your iPhone needs to be on and connected. Then send the screenshot from Messages on your Mac, the same way as above.
3. To your own iPhone
Free and built in. Pick whichever is handiest.
- AirDrop. Click the screenshot’s thumbnail, click Share, choose AirDrop, and pick your iPhone. For a saved screenshot, Control-click the file in Finder, choose Share, then AirDrop.
- Universal Clipboard. Copy the screenshot on your Mac with ⌃⇧⌘4. On your iPhone, touch and hold in a message or note and tap Paste. Both devices need the same Apple Account, Wi-Fi, Bluetooth, and Handoff turned on, and they must be near each other. The copy is only there for a short time.
- A message to yourself. In Messages, start a conversation with your own phone number or email address and paste the screenshot there.
Sending several screenshots?
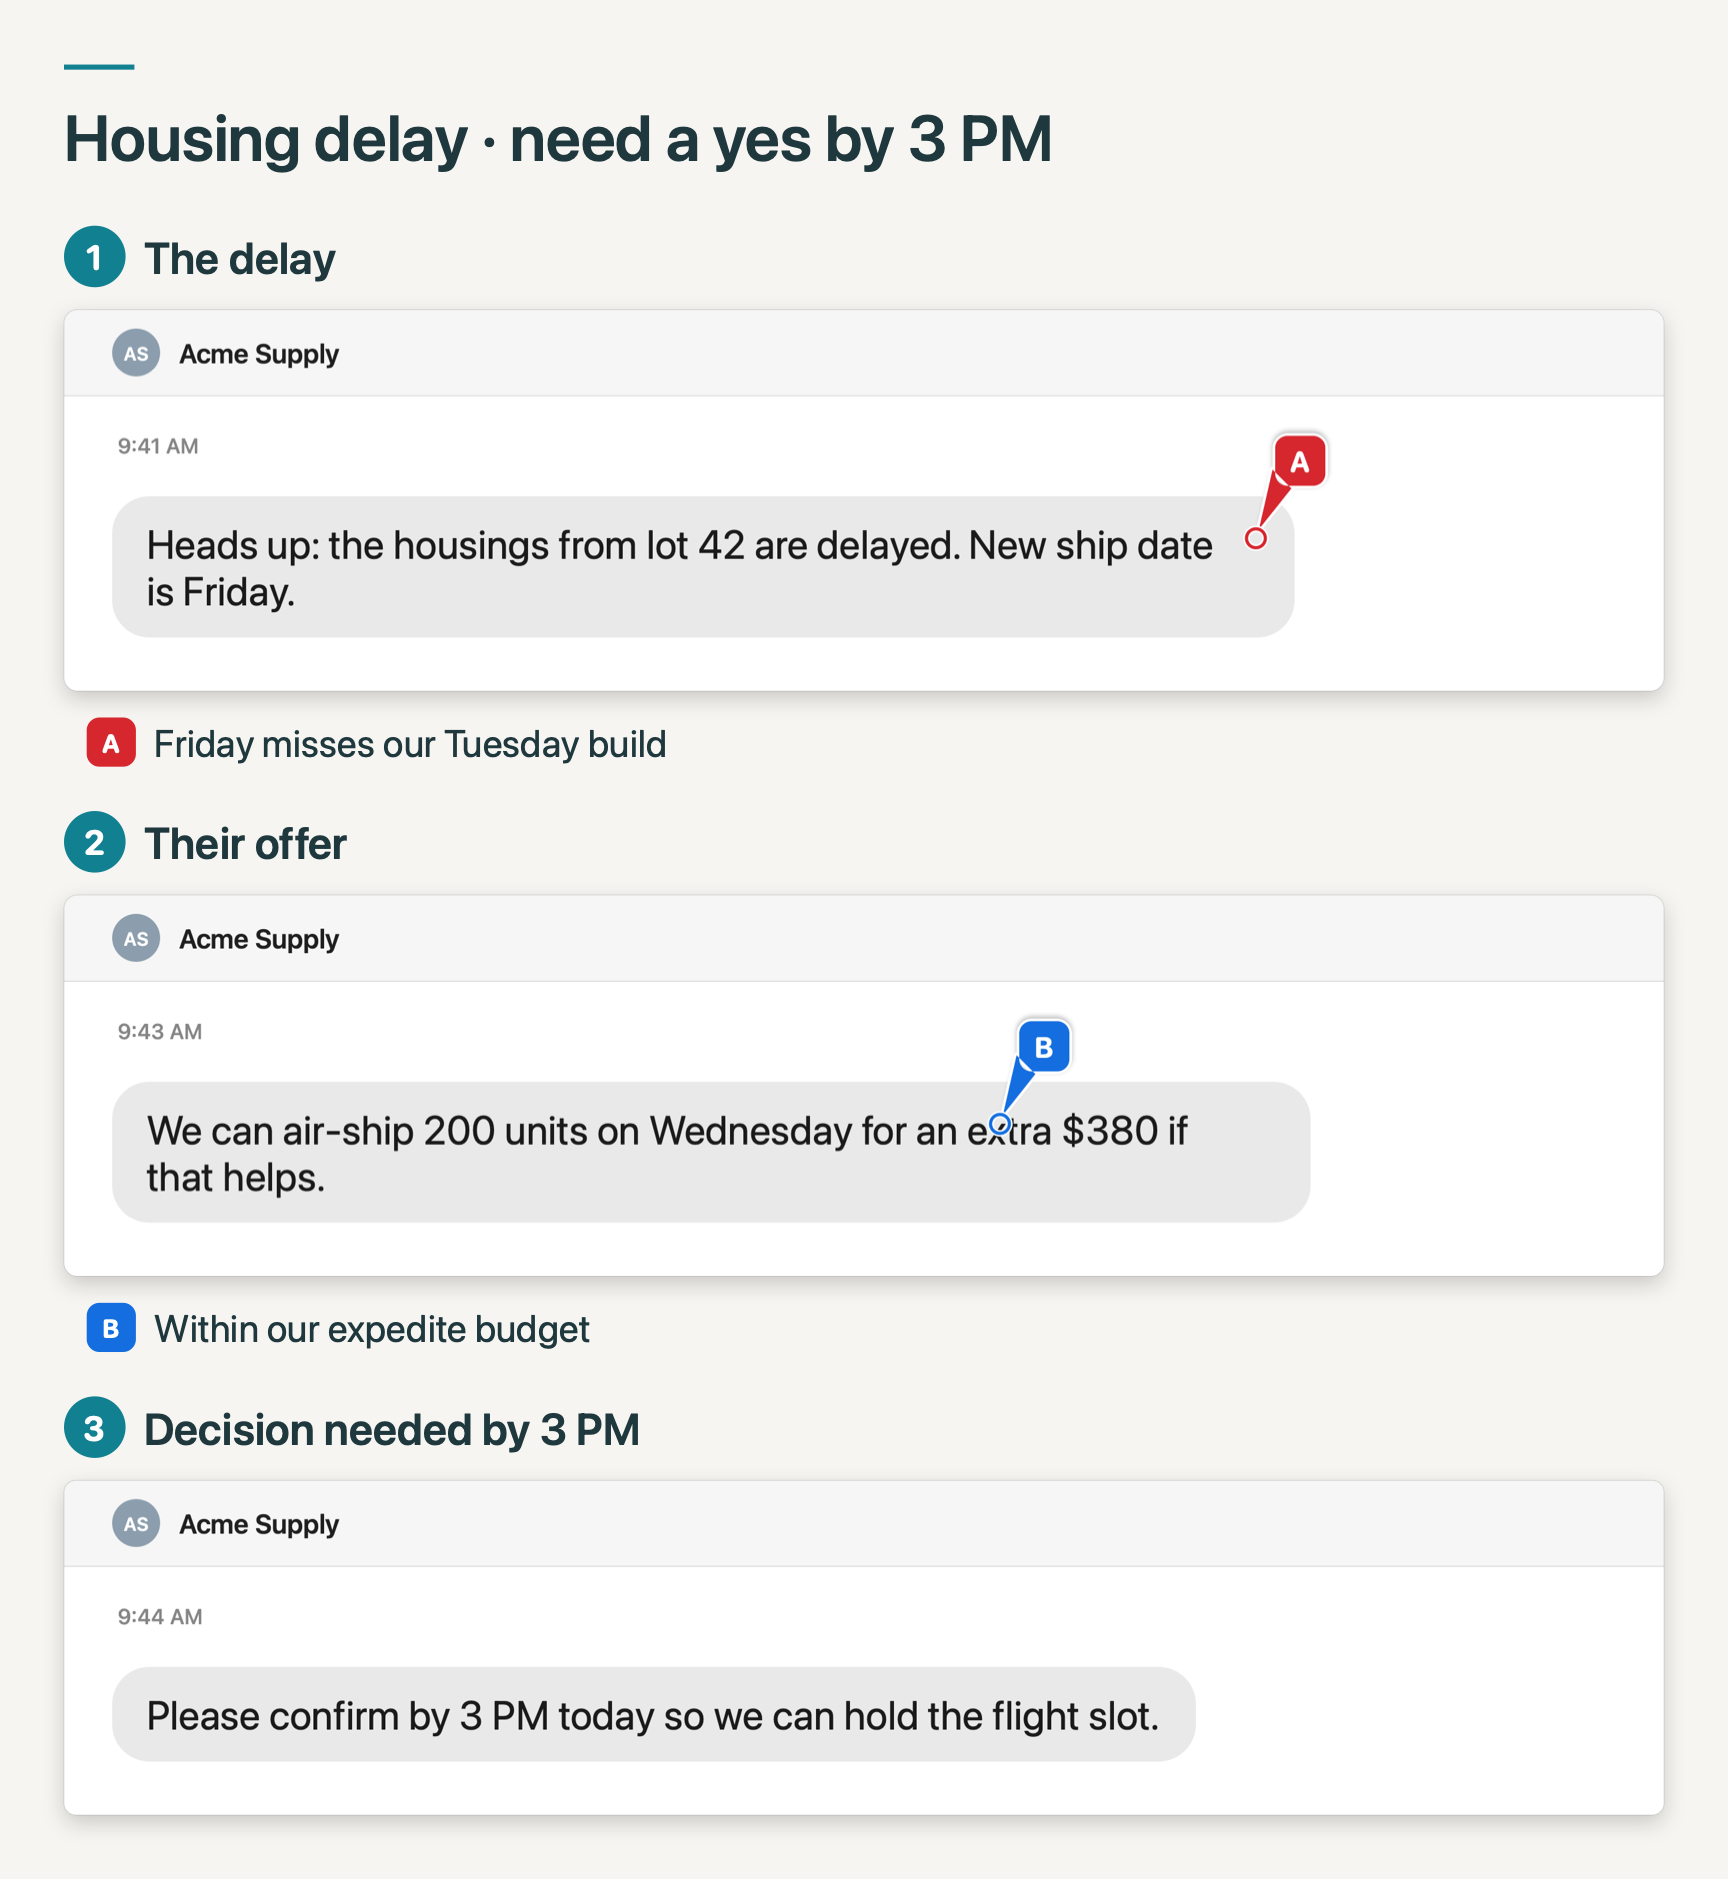
Several screenshots in a text arrive as a stack of small pictures, and on a phone it’s hard to tell which matters or what order they go in. Combine them into one image first, number them, and add one line about what to look at. Our guides show 3 ways to combine screenshots on a Mac and how to send multiple screenshots so they make sense.
4. The fast way with SnapTrellis
Free to download. Copying single screenshots is always included; merging a group is free for 14 days, then $19.99 once.
- Press ⌥⇧4 and drag. The screenshot is copied right away, so you can switch to Messages and press ⌘V. With Universal Clipboard, you can paste it on your iPhone too.
- Need to point at something? Click Mark Up on the card beside the screenshot, press M, and click the detail to add a lettered marker with a note. When you send it, the note is listed under the screenshot.
- Sending several? Keep capturing; each one joins the same group. Then press ⌥⇧C, and the whole group is copied as one numbered image, laid out to be read on a phone. Paste it into the conversation.
To send a group without pasting, click the arrow beside Merge and choose Share as One Image… to open your Mac’s usual Share menu, with Messages, Mail, and AirDrop.
Which should you use?
For one screenshot, ⌃⇧⌘4 and ⌘V is the fastest free way. If you text screenshots all day, especially several at once, SnapTrellis copies every capture and turns a group into one image that’s easy to read on a phone.
Before you send, check for private details: here’s how to blur or hide part of a screenshot on a Mac. More on shortcuts: how to copy a screenshot to the clipboard on a Mac.
Free to download. Copying single screenshots is always included; merging a group is free for 14 days, then $19.99 once. No subscription. macOS 14 or later.