
A practical guide
How to make step-by-step instructions with screenshots on a Mac.
A how-to is easier to follow when every step has a number, a screenshot, and one short line. Here are free ways to make one on your Mac, tools that record the steps for you, and a quick way to send a short how-to as a single image. The same approach works for a bug report.
Before you start: plan the steps
- Do the task once and note each action. One action per step.
- Crop to what matters. A tight screenshot stays readable on a laptop or a phone.
- Show where to click with an arrow, a box, or a marker. Here’s how to annotate a screenshot on a Mac.
- Write one short line per step, starting with what to do: “Click Add Printer.”
- Hide private details, like names and account numbers. Here’s how to blur or hide part of a screenshot.
1. A document: Pages, Word, or Google Docs
Free (Pages is a free Apple app). Best for long instructions you’ll keep and update.
- Type the steps as a numbered list.
- Take each screenshot with ⌃⇧⌘4, so it’s copied instead of saved. Click under its step and press ⌘V.
- Resize the screenshots so their text stays readable.
- Share the document, or export a PDF. In Pages, choose File → Export To → PDF.
It’s flexible and easy to update. The cost is time: every screenshot means switching apps, pasting, and resizing.
2. Keynote or Notes
Free Apple apps. Good for a short walkthrough.
- Keynote: one step per slide, with the screenshot large and one line of text. Present it on a call, or choose File → Export To → PDF.
- Notes: paste each screenshot under a numbered line. Share the note, or choose File → Export as PDF.
3. A step recorder that captures as you click
Free versions or plans available. Best for long processes you document often.
These apps take a screenshot each time you click and write the step list for you. Details checked October 2, 2026:
- Folge runs on Mac and Windows, takes a screenshot of each click, keeps everything on your computer, and exports to PDF, Word, and other formats. It has a free version; some features need its one-time paid license.
- Scribe and Tango record in your web browser on their free plans; recording other Mac apps needs a paid plan. Guides are shared as links.
- Snagit, a yearly subscription, has Step Capture, which turns your clicks into a numbered guide.
They save the most time on long, repeatable processes, like onboarding or a help article. For a quick answer to a coworker, they can be more than you need.
4. One image you can paste anywhere: SnapTrellis
Free for 14 days, then $19.99 once. Best for a short how-to sent in a message, an email, or a ticket.
- Choose File → New Group… and name it after the task, like “Add the office printer.” The name becomes the title of the finished image.
- Do the task. At each step, press ⌥⇧4 and drag over the part that matters. If the next step happens in the same spot, ⌥⇧R captures that area again without dragging. Click the card beside the screenshot, type the step, like “Click Add Printer,” and press Return. If the card has already gone, choose File → Label Last Screenshot… (⌘L).
- To show exactly where to click, click Mark Up on the card, press M, and click that spot in the screenshot. A lettered marker appears; type a note if the step needs one.
- Click Preview at the top of the Trellis and set Layout to One Column, so the steps read top to bottom. Then click Copy as One Image and paste it wherever you need it.
Each screenshot gets a big number and your label, and marker notes are listed under the screenshot they belong to. Because it’s one image, it works in a text, an email, a chat, or a help-desk ticket. The trade-off: one image suits a short how-to. For a long manual, use a document or a step recorder.
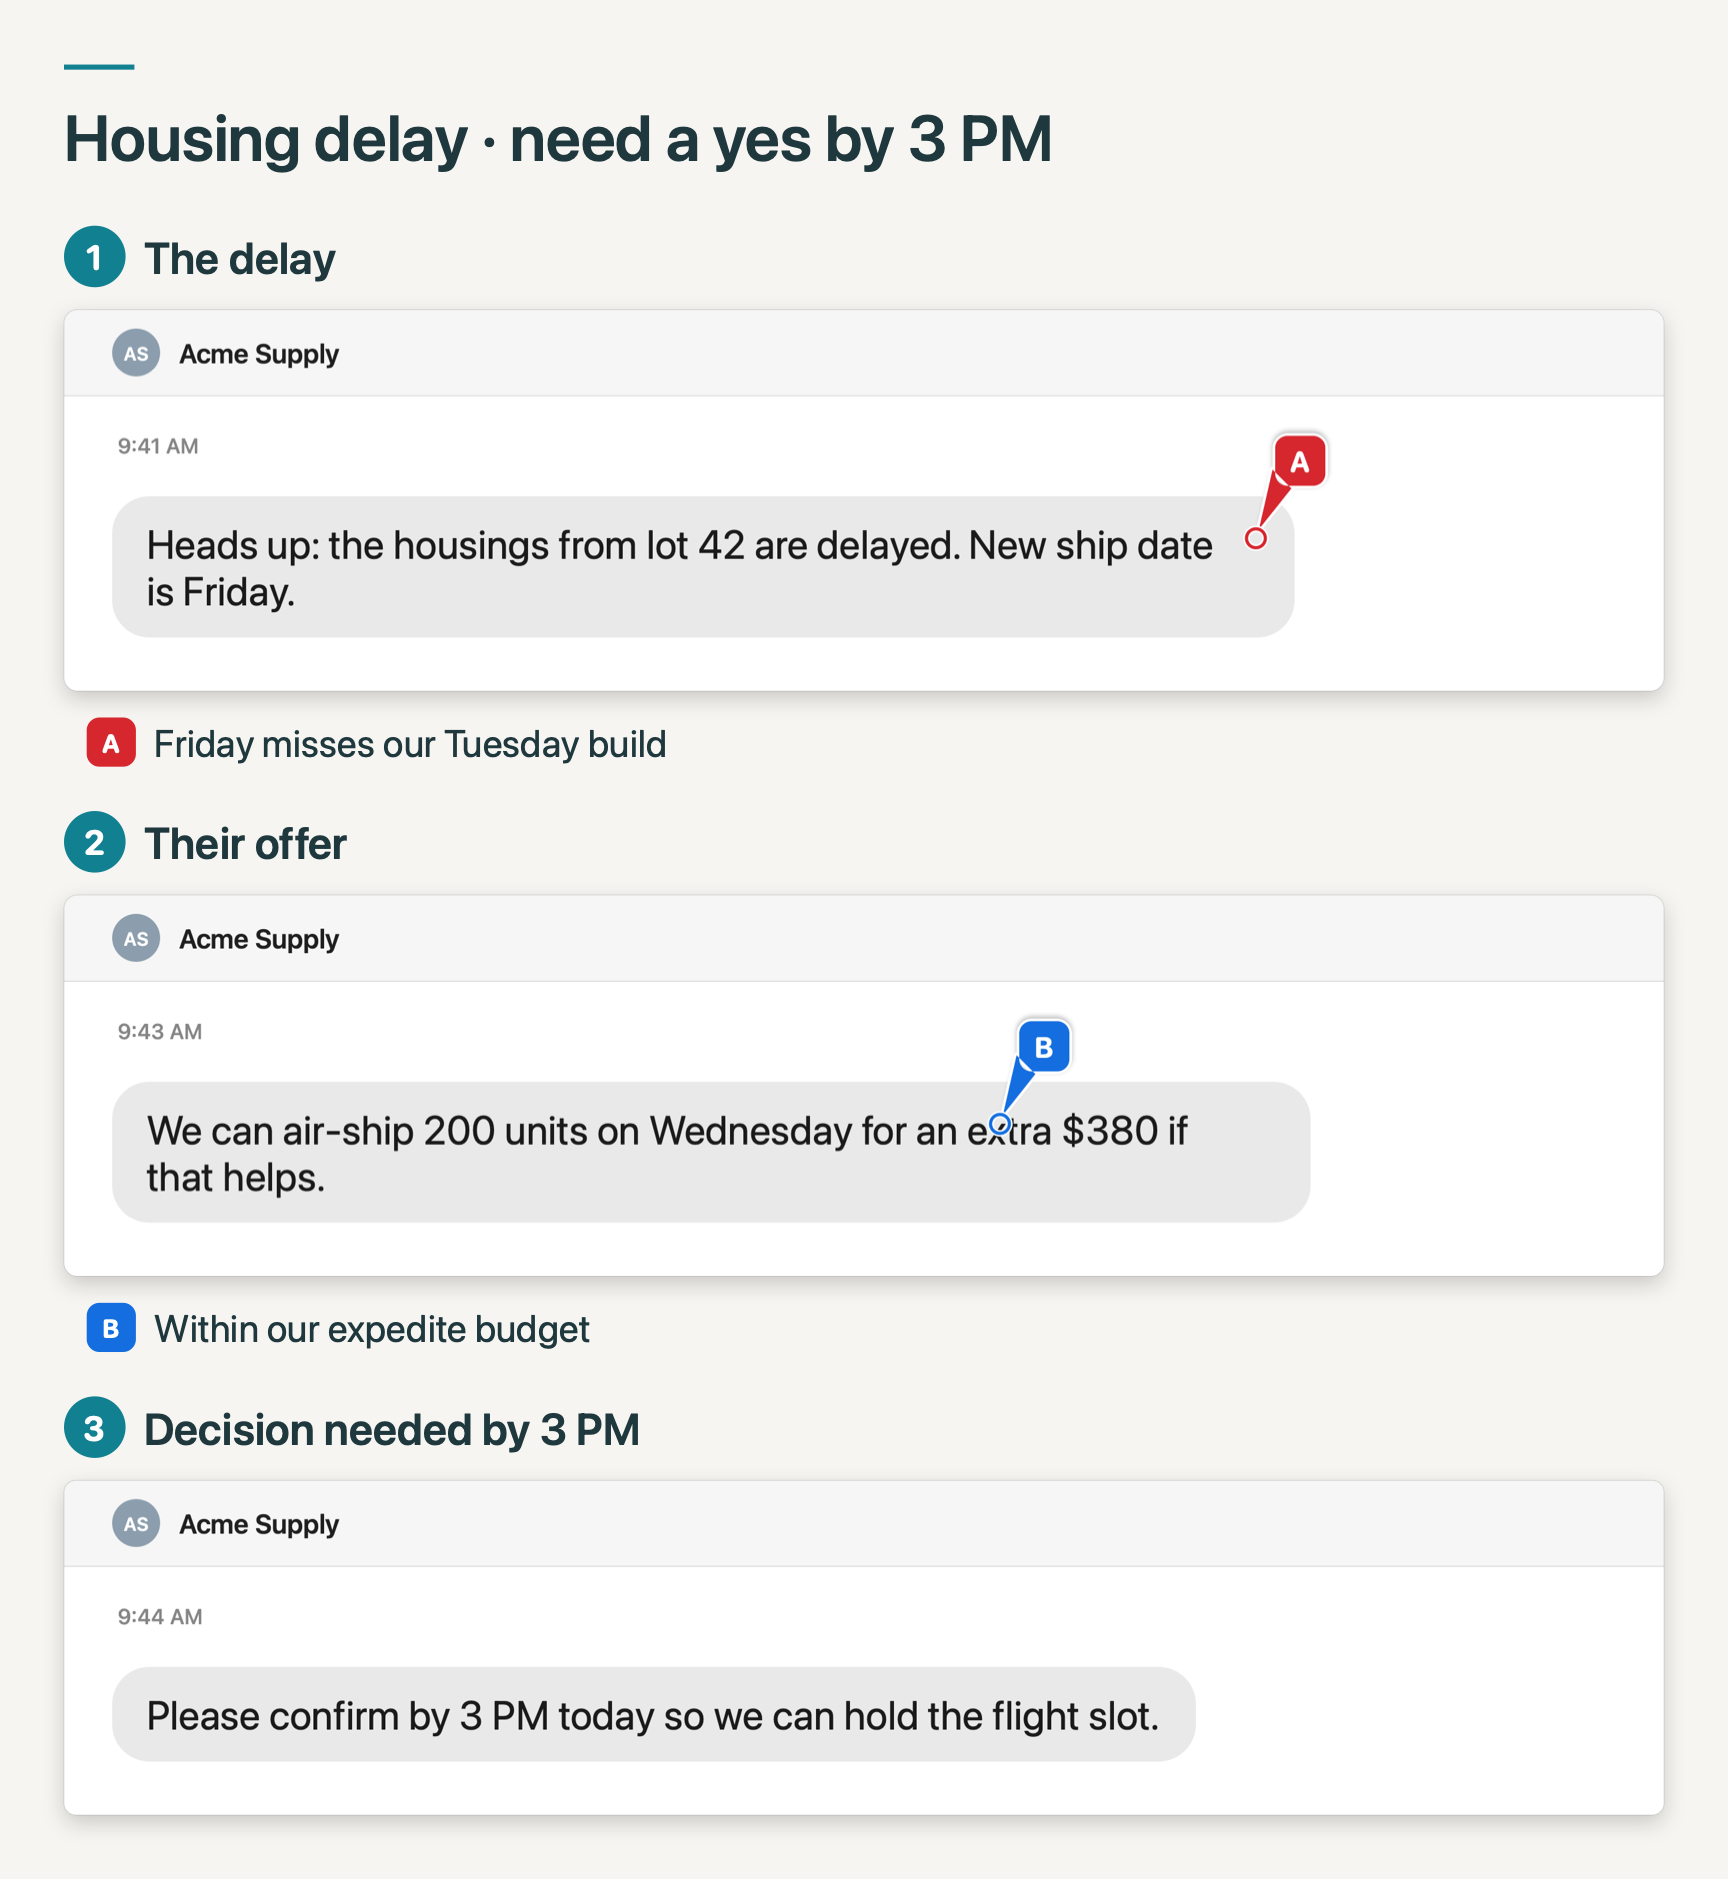
Reporting a bug? The same steps work
A good bug report lets someone else see the problem for themselves. Include:
- Steps to reproduce, numbered, with a screenshot for each step.
- What you expected, and what happened instead. Point at the difference with an arrow or a marker.
- Versions: the app’s version, and your macOS version from Apple menu → About This Mac.
- No private data. Blur or hide names, email addresses, and account numbers.
Sending the steps as one image keeps the numbers, screenshots, and notes together, so nothing gets separated from the ticket.
Which should you use?
For long instructions you’ll keep and update, use a document, or a step recorder if you write them often. For a quick “how do I…?” from a coworker, a parent, or a client, one numbered image is faster to make and easier to follow on a phone.
Need the steps as a PDF? See how to combine screenshots into one PDF on a Mac. Comparing apps? See the best ways to share several screenshots from a Mac.
Free for 14 days, then $19.99 once. No subscription. macOS 14 or later.